Sunday, July 15, 2012

Homemade Ice Cream Sandwiches


This was our family night treat...
Homemade Ice Cream Sandwiches
made with red velvet cake, cooked in our waffle iron
and smashed vanilla ice cream in the middle.
Mmm, Mmm, delicious!!!

We had left over cake waffles so I threw the
rest together, wrapped them in plastic and
threw them in the freezer for tomorrow...
or later! Hehehe!

Friday, July 13, 2012

Saturday, March 24, 2012

Wood Planter Box

Decorative Indoor Planter Box
These are NOT water proof. For decorative purposes only.
Dimensions: 22" long x 8" high

Finished $24.00
Unfinished $20.00

To place an order you can email me at
lotsa_thoughts@yahoo.com
Subject: Planter Box

Key Board

If you're going to hang those keys,
Why not do it in style?

This 3 hook display comes in a variety of colors
and prints. Attached is a mason jar for
displaying flowers or use for pens/pencils.

$12.00 Finished
$8.00 Unfinished

You may order via email:
lotsa_thoughts@yahoo.com
Subject: Key Board

Monday, March 12, 2012

Got lost sox?
Let'em hang out here til they find a mate!
Unfinished wood kit $10.00
Finish: $15.00
send me an email to:
lotsa_thoughts@yahoo.com
subject: Singles Club

Sunday, March 11, 2012

It's National Craft Month

What's on your "TO DO" craft list?
Way to many things on mine,
But if your interested just go to my
FaceBook page and see what's in store
for the crafters this month!!!

Happy Craft Month to you!!!

Thursday, March 8, 2012

Mayonnaise Chocolate Cake


This is surprisingly DELICIOUS!!! If, and it's a big IF... if you want to be a little more healthy you can use Lite Mayonnaise. The mayonnaise takes place of the eggs and oil.

Ingredients:
2 Cups Flour
2 tsp. Baking Soda
4 Tblsp. Cocoa Powder
1 Cup Sugar
1 Cup Water
1 Cup Mayonnaise (NOT salad dressing)
2 tsp. vanilla

Sift flour, baking soda, and cocoa. Set aside. In a large bowl, beat together the sugar, mayonnaise, water, & vanilla. Stir in the flour mixture until well blended and all ingredients are moistened. Pour batter into two greased and floured layer pans or a greased and floured 9x13 pan. Bake at 350 degrees for 30-35 minutes for layer pans or 30 minutes for an oblong pan. Cool and frost.

Thursday, March 1, 2012

Missionary Fund Bank

My nephew is getting baptized this Saturday!
Can't believe how fast time flies.
Anywho... here's a little something we're sending him to help
him along his journey!!!!

I bought an 8x10 Shadow Box Frame.
(later finding out they are easy to make)
Monogrammed it with his name using vinyl lettering.
For the coin slot, I drilled a couple holes in the top
and ran my dremel across from one hole to the next.
If you are painting your box, make sure you mask off the
glass inside & out so you don't get paint on the glass.


I just decorated the back board with
scrapbook paper and some clip art.


Wrote a special message to him with the date
and it's good to go!!!
Well.... I did send it with some $$ in it.
Hope it gets there safe!!!

Sunday, February 12, 2012

Rotating Photo Blox


Simple and easy rotating photo blox.
Love making these for the grandparents. You can place pics
on all 4 sides of your blox or just a few like I have here.
Paint or place vinyl letting on the sides that don't have pics. Top it off with
a wooden drawer pull knob (not shown).
Great gift giving present!

I'm want to get pics of my great grandparents, grandparents, parents and me.
Going to make one of these for my mother for mothers day!

Tuesday, January 31, 2012

Hair bow/Flower Arrangement


You could use just about any container or decorated bag/box.
I used this container that was just lying around the house.


Those of you that don't make your own hair bows/flowers,
they can be found at pretty much any boutique or online.


The reason I used the straws is this can be used to store the bows & flowers.
That way they will always have an "arrangement" on their dresser.
If you can't find stiff straws to poke down in the styrofoam
you can use a dowel or stick to pre-poke the holes.


I used this for a little girls birthday gift,
but I think it would make a great baby shower gift too!


Saturday, December 17, 2011

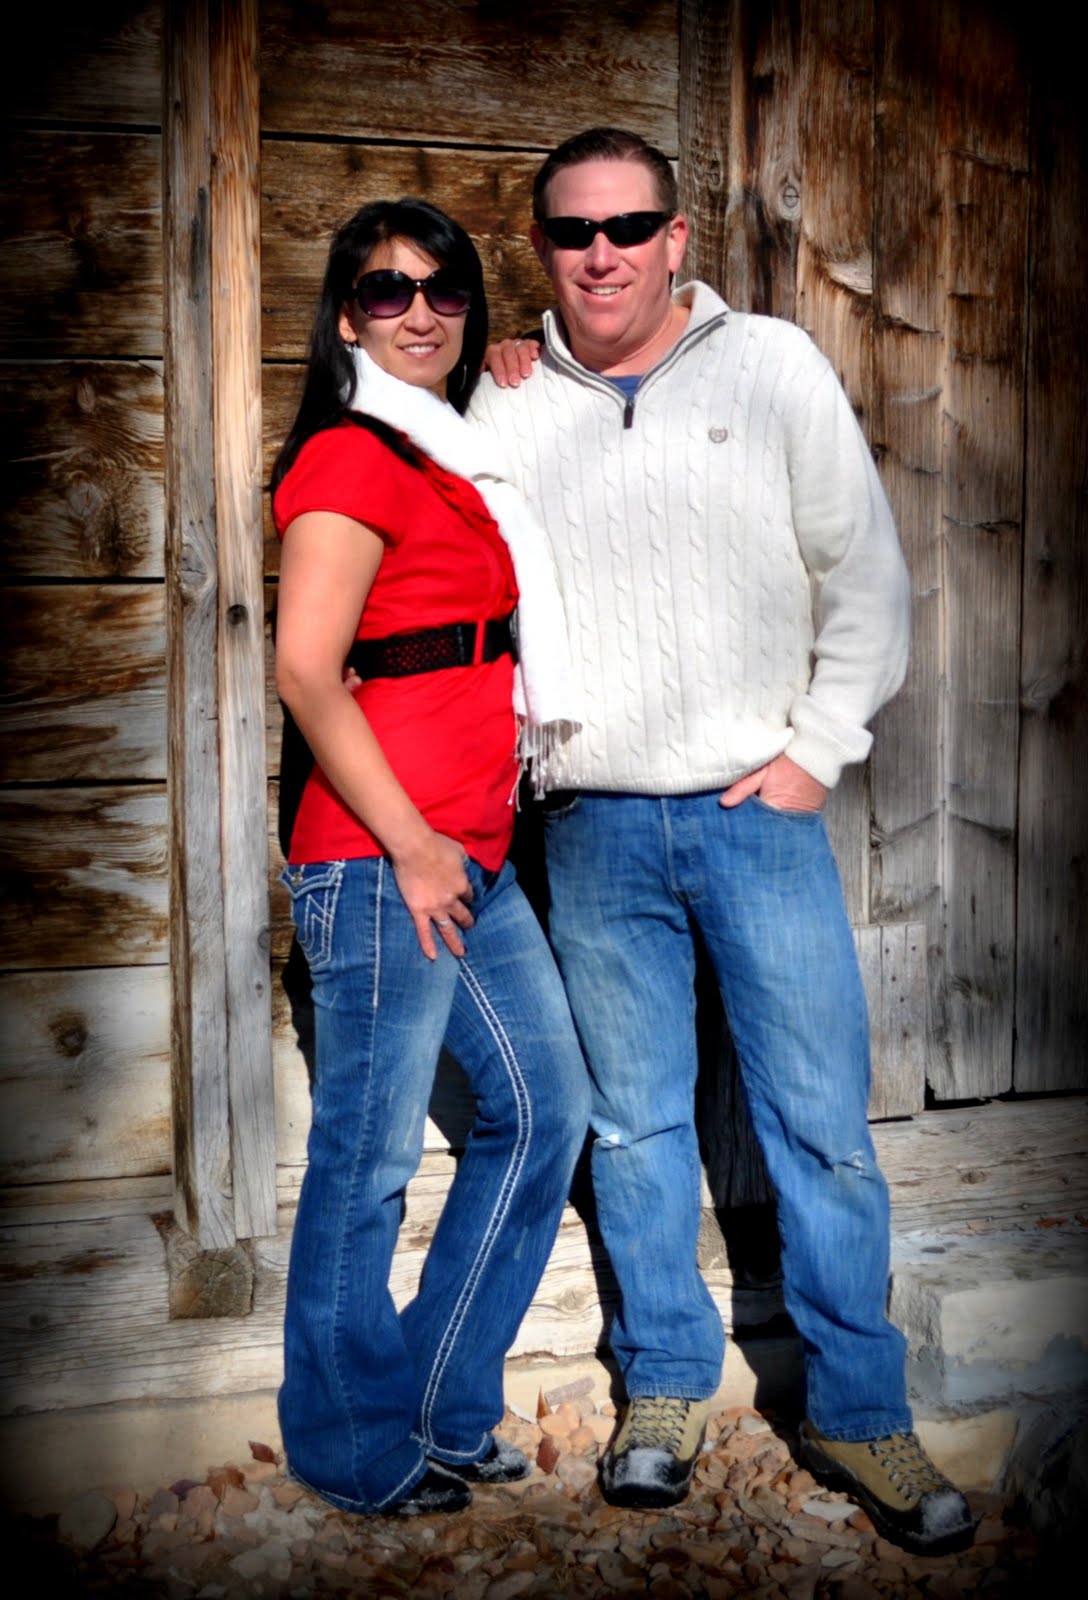
The Wintch Clan - 2011


My Love...

Love this man!!!
He's so fun, funny and a wonderful husband & dad!

My Fischer...

Love this kids so much.
He's got such a fun, friendly smile!

My McKinley...

So good looking and a great kid!

Happy Holidays 2011


Family Pictures 2011

It's funny how hard and frustrating it is to get family pictures. Everyone can't seem to find their clothes or shoes. Then no one wants to do certain poses and getting them to smile is like pulling teeth. But when it's all done...
We look good!!!

Thursday, December 15, 2011

Just "Pitcher" it - Neighbor Gift Idea

To complete this project you will need a clear glass pitcher, etching cream & a stencil/sticker of your choice. Wash and dry glass well. Read and follow ALL directions on bottle of etching cream. This is for your safety.

After cleaning and drying the pitcher, place the stencil/sticker in place. I had a friend cut me these letters from vinyl. They stick and stay in place the best. Plus it gives you a more professional look. Make sure when asking someone to cut your design, you let them know you need to "negative" pieces of the stencil. Let them know what you are planning on using the stencil for. That will make more sense to them. As you go thru this tutorial you'll notice my letters have changed... I've done several of these! :)

Apply the etching cream to the glass where you want it to be frosted avoiding the edges of the stencil/sticker. Let sit for 30-40 min. It will become dry and hard.

After letting your etch cream sit on the glass for 30-40 min., rinse and wipe clean with a cloth. Making sure to remove ALL cream. You do not want any excess sitting on the glass anywhere, this will etch that area.

Remove your stencil/sticker. Rinse again making sure to remove any left on cream.


Add a drink mix and a note card that says:
We "pitcher" you "stirring" up some holiday cheer!
Merry Christmas!!!

Monday, December 12, 2011

Peanut Brittle Goodness!


I went to the kitchen to make cookies, but... ended up making peanut brittle instead!

Ingredients:
2 cups sugar
1 cup light corn syrup
1/2 cup water
1/4 cup butter
1/2 tsp salt
1/2 tsp pure vanilla
1 1/2 tsp baking powder
2 to 3 cups salted spanish peanuts

Directions:
Measure and set aside vanilla & baking powder. And have your baking sheet pre-buttered. You will need these quickly when pan is removed from heat. So have them ready to add.

Combine butter, sugar, corn syrup, water and salt in a medium sauce pan. Cook and stir til sugar is dissolved, stirring occasionally til mixture reaches 275 degrees (soft crack stage). Mixture will be a golden color. Add nuts & continue cooking, stirring often til mixture reaches 295 degrees (hard crack stage). Remove from heat, quickly stir in vanilla and baking soda. Mixture will turn cloudy and frothy. Immediately pour hot mixture into a buttered sheet cake pan, spread out and allow to cool completely. Crack & serve.


Wednesday, December 7, 2011

Blog?

I must remember I've got this blog. As you hopefully have read to the right there------------> (About me),
I'm NOT a great blogger! I keep forgetting about it. But my New Years resolution: Remember Blog! Like all the other resolutions... we'll see how long it lasts!

Paint Swatch Bookmarks


I saw these cute bookmarks on Pinterest, and just HAD to give them a try. So fast, simple & so darn cute!!!

Hey CupCake... Happy Birthday!


This is the project for our January craft night. You can change the months and the birthdays in that month. Leave it where you can see it everyday and remember to send a card or make that phone call! If you'd like to join us let me know. I'll email you with date, time and supply info.